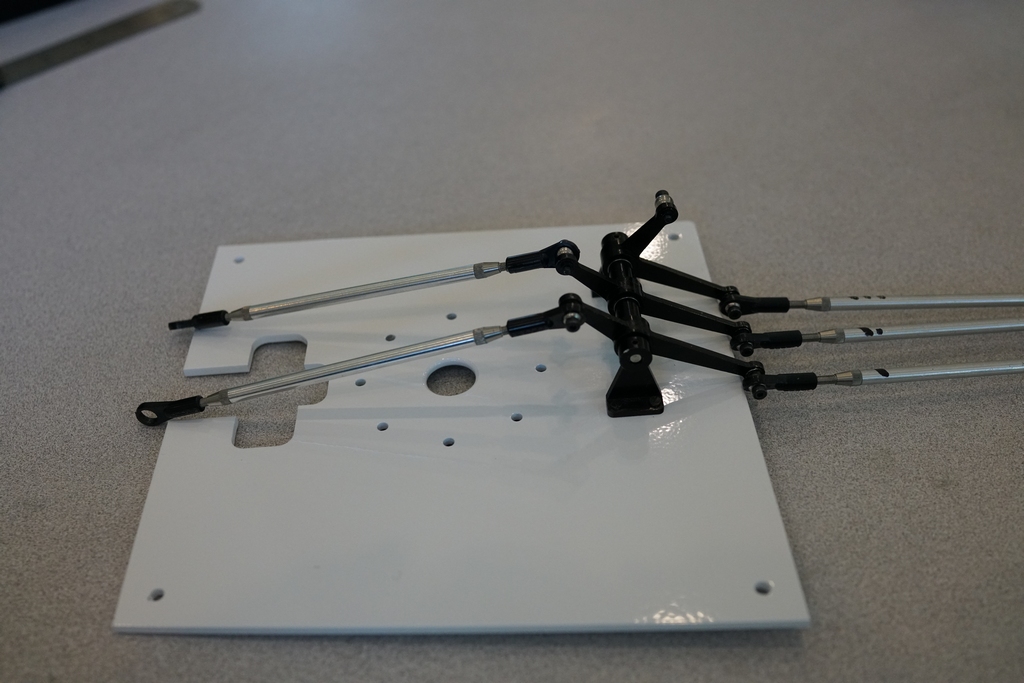
Time to start reassembling everything. The first job is to fit the bell cranks to the top plate. From frustrating experience I found that the bolts were inaccessible once the mechanics were in place, so they go in first
Then it was time to strip all the screws out of the new mechanics I had built, and reassemble everything to be sure Loctite was in all the right places. The previous set of mechanics turned out to be too flimsy for my taste after cutting them back to clear the Starwood fuel tank so I machined up a new set. I also noticed the black gear( which was white) was in very poor condition so between me,Solidworks and Darrell Sprayberrys skills, he managed to machine up a new gear out of Delrin for me. What would I do without him ?

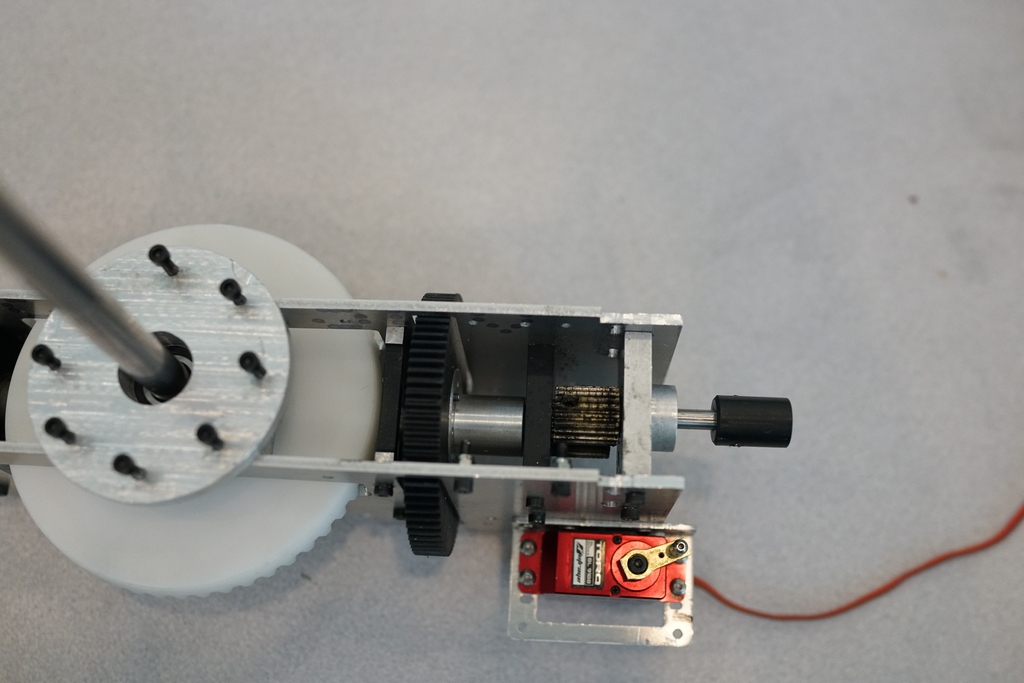
In this picture you can see the gearbox I made up to reverse the tail drive, and also raise the drive output shaft to the right height. The black mess is the effect of running Vario Sticky grease on the gears, but at least they are well lubed
Time to fit the mast housing and rotor head
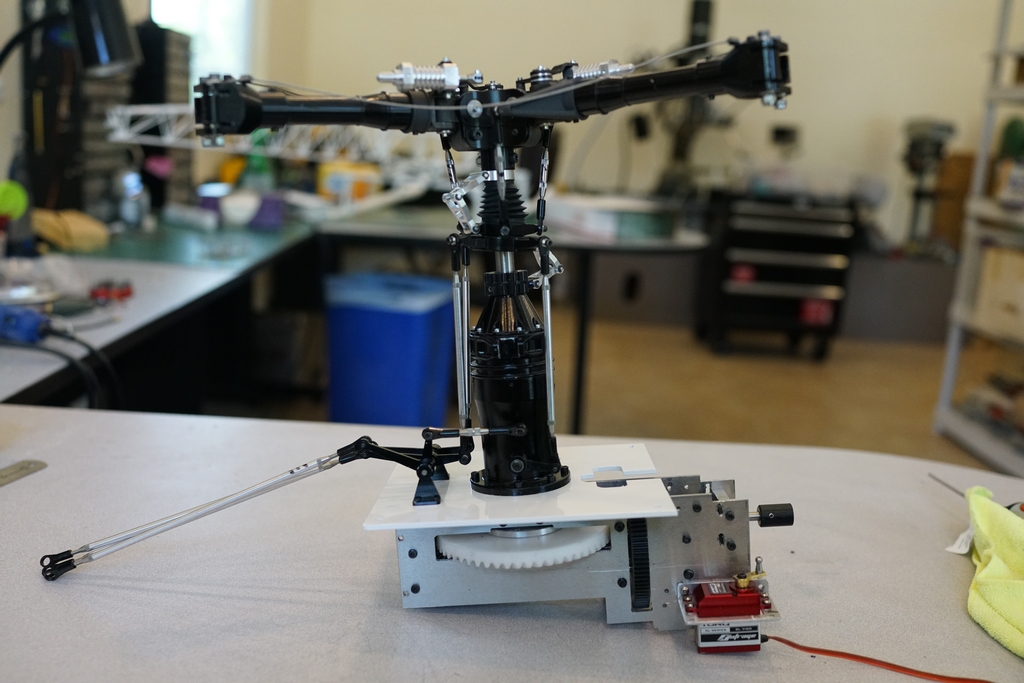
Then pop it onto the chassis, not bolted down yet as there are two braces supporting the mast that go to the bolts that hold the top plate in place
Time for a cup of Tetleys tea and a McVities digestive biscuit.
Back to work and the first job was fitting the mast housing braces and tightening down the top plate
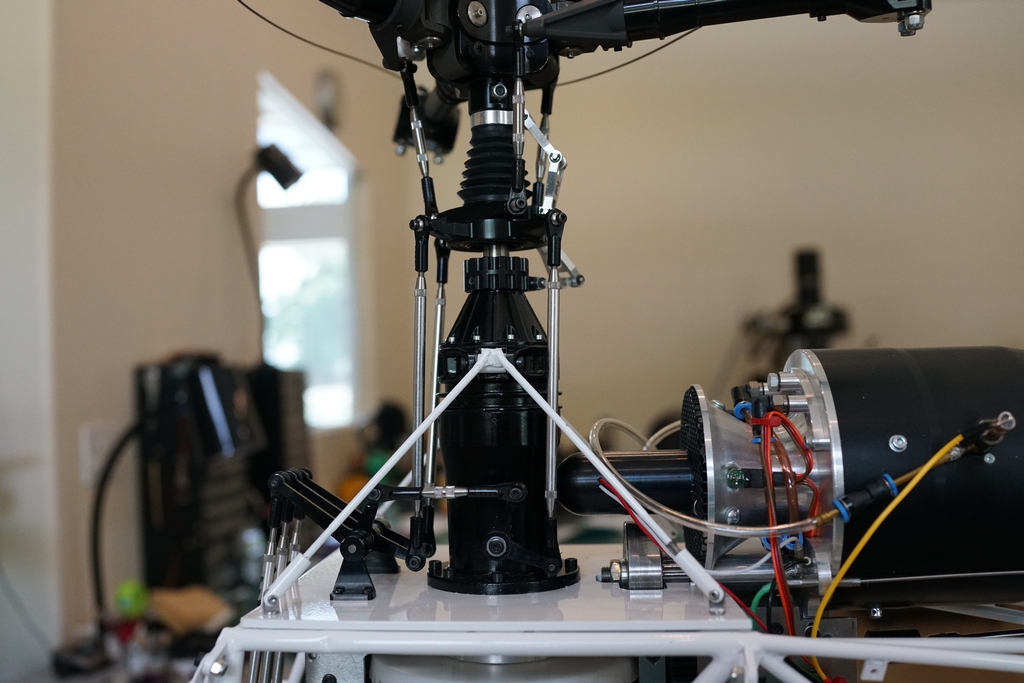
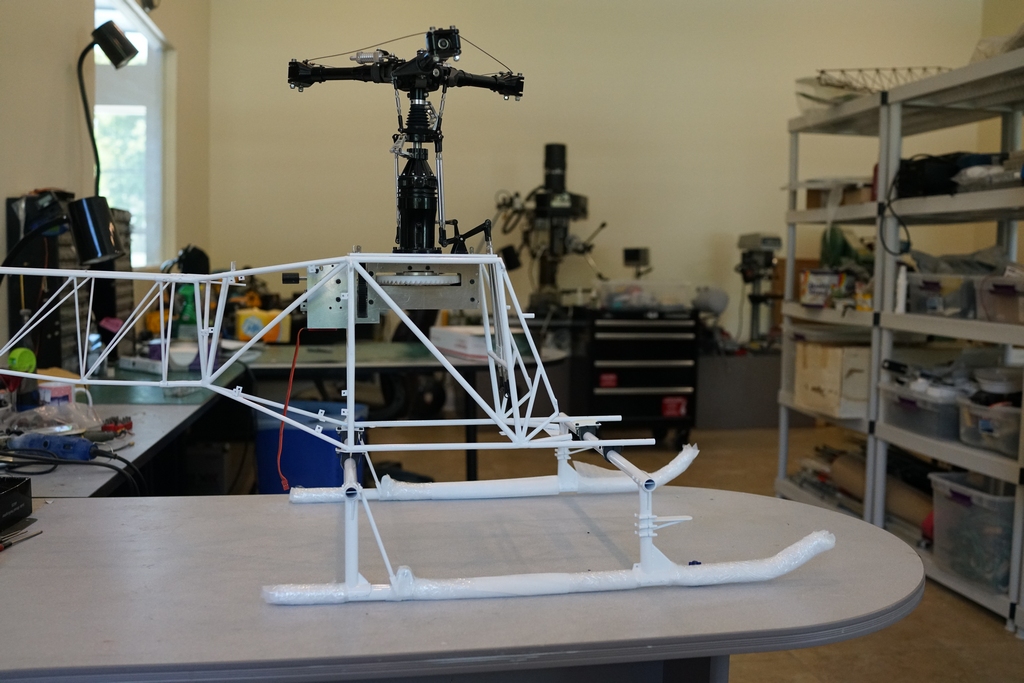
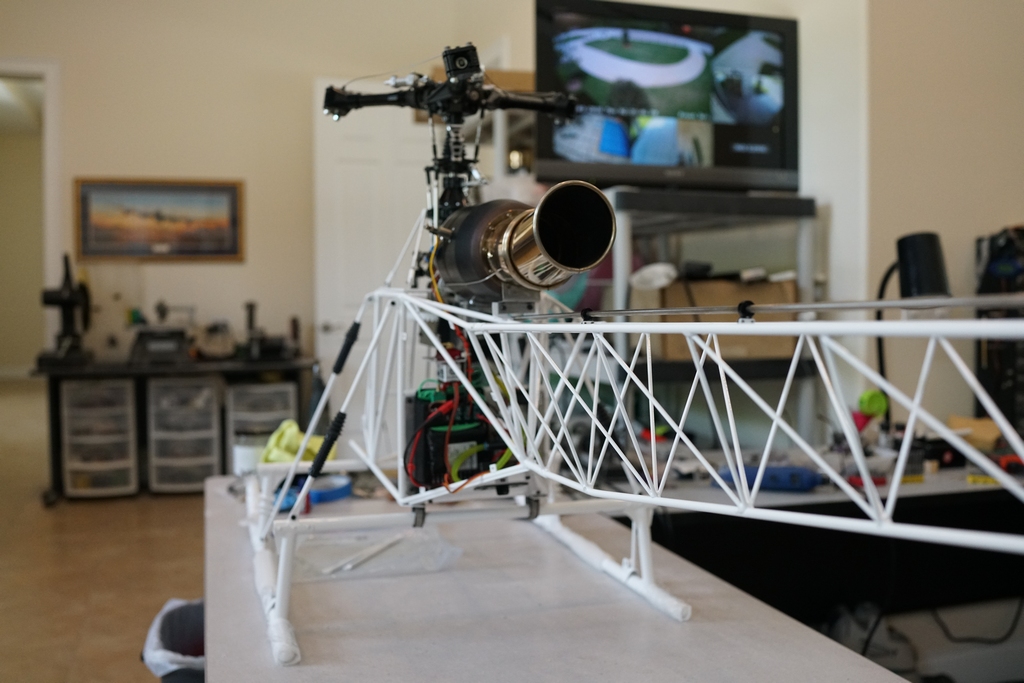
Work progresses. I fitted the rods which brace the landing gear to the top plate, or maybe its the other way round. They required putting in the lathe to machine off the powder coating. I added the turbine and perfected its alignment and back lash. Then I fitted the electronics tray and wired it all up.
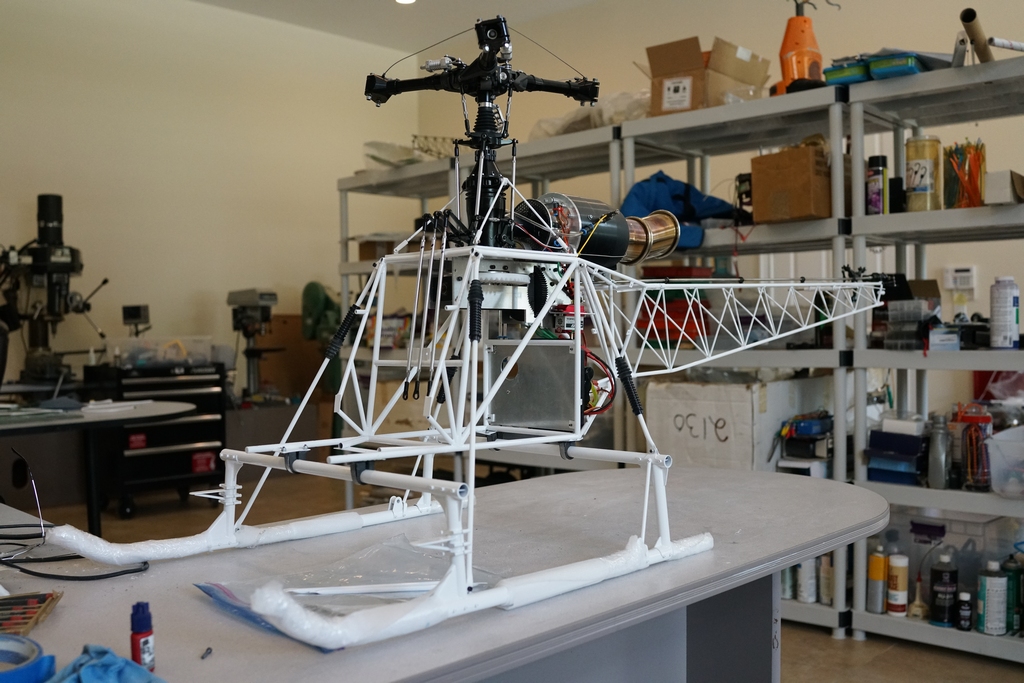
Looking at the pictures I can see that the unpainted back of the electronics tray is going to stick out like a sore thumb. It has to come out again to fit the fuel tank so I will take it out completely and give it a coat of paint
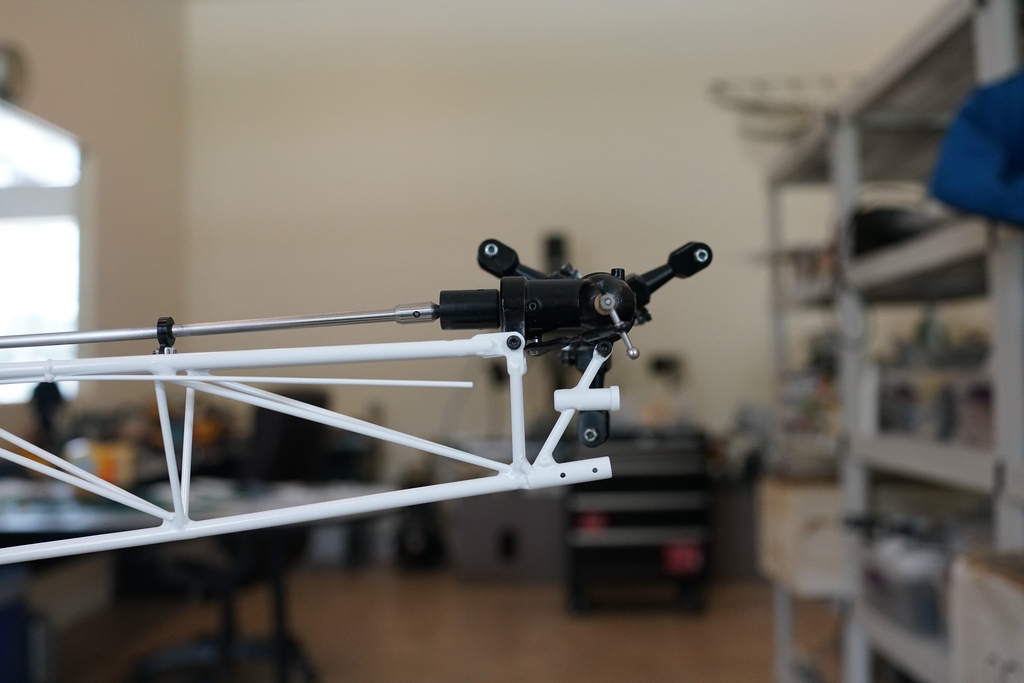
The tail drive came next. Mounting the bearings with 1.6mm screws and nuts is fiddly process. Then the tail rotor gearbox is fitted making sure everything runs super smooth.
Now its off to the spray booth. I have selected a simple color scheme which requires no masking. Yes, it's going to be all white. There will be a couple of decals on there to break it up.
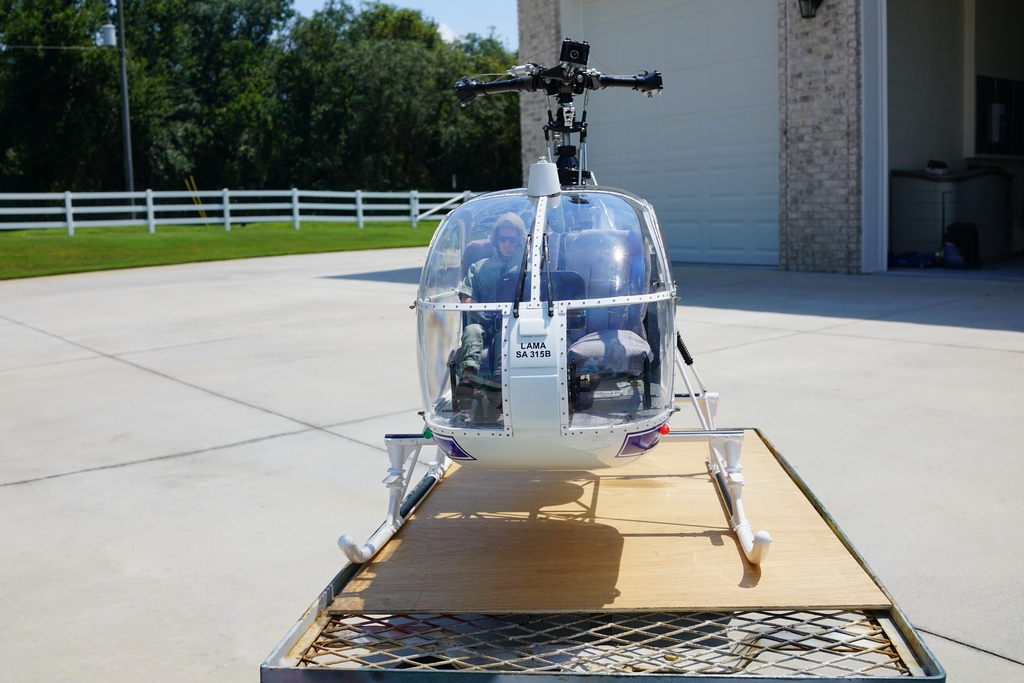
It seems I have been remiss in keeping up to date on this build. I have been plodding along, slowly putting things together and not taking any pictures! This is what it looks like now
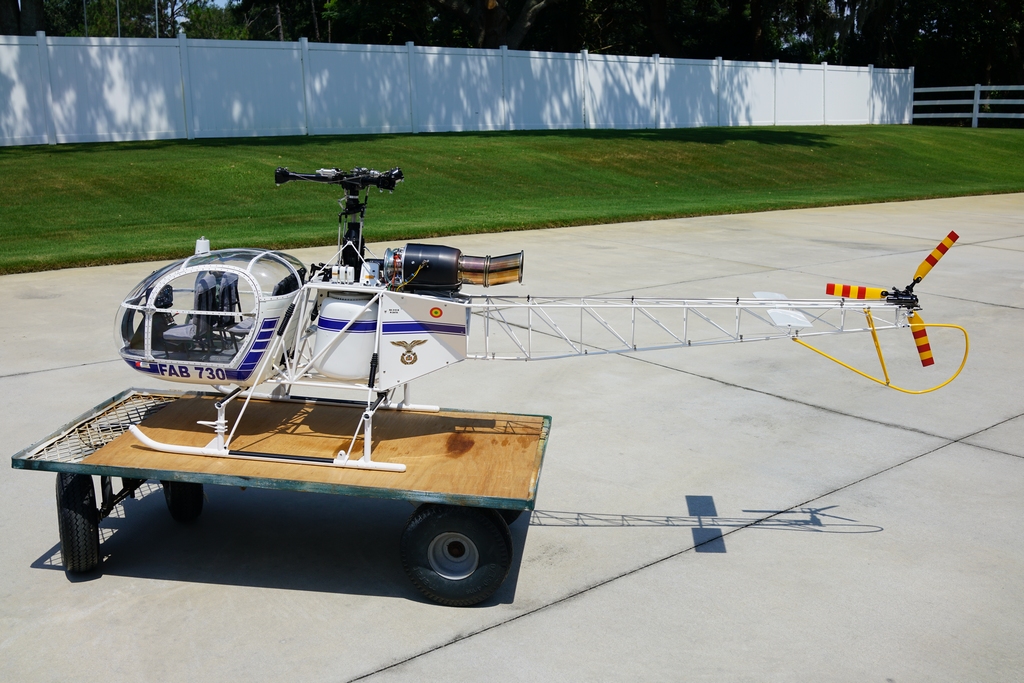
The color scheme is from the Bolivian Airforce and the full size helicopter crashed and was destroyed in the late 1990's so I only have one picture to go on. Fortunately, other than colors, Lamas are all pretty much alike.
The instrument panel came out of my 3D printer and the seats are for the Vario big Lama. The rear seat was too big so the dremel came out and now its a perfect fit, even if only for 2 not 3 passengers
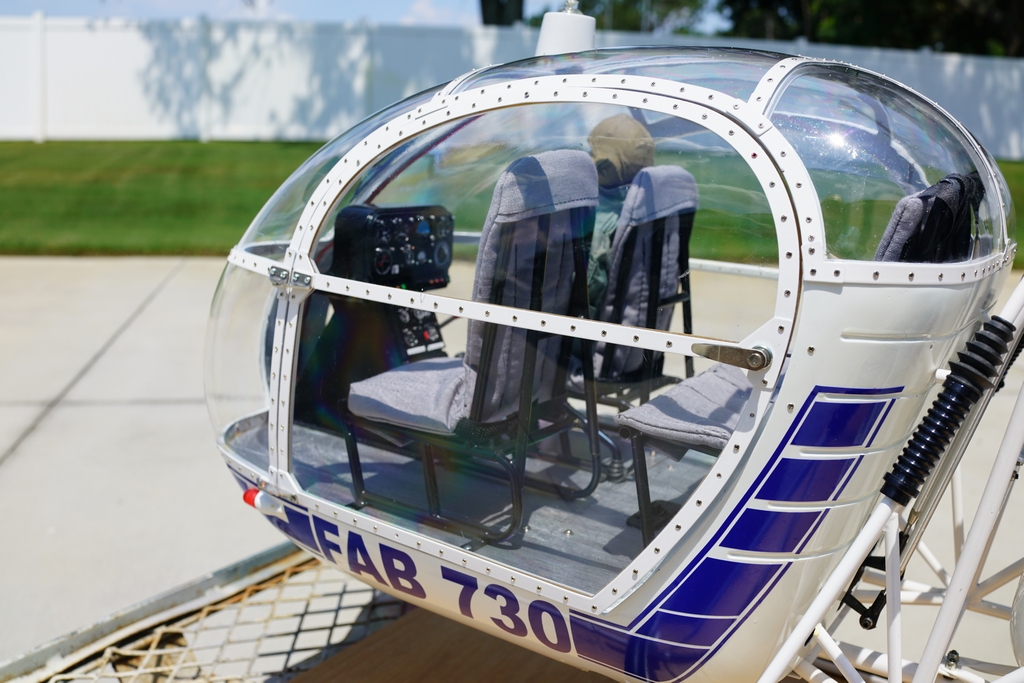
The windows came from Dany in Israel, much better than the Hirobo ones, but try as I did, there was not getting those doors to fit. Every time I want to make an adjustment I have to take all the screws out and then take the window off. Very tough on the hands and wrists, and they still dont fit. I'll have another go later when some feeling returns to my fingers.
The oil tanks are the Hirobo ones from the kit, but the air intake had to come from my printer
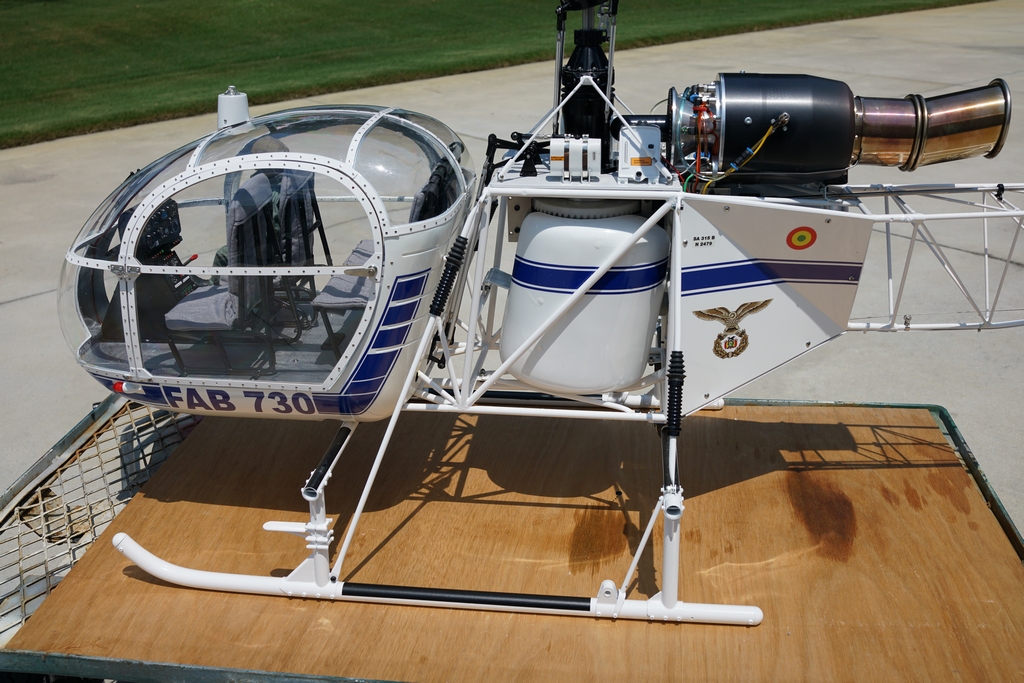
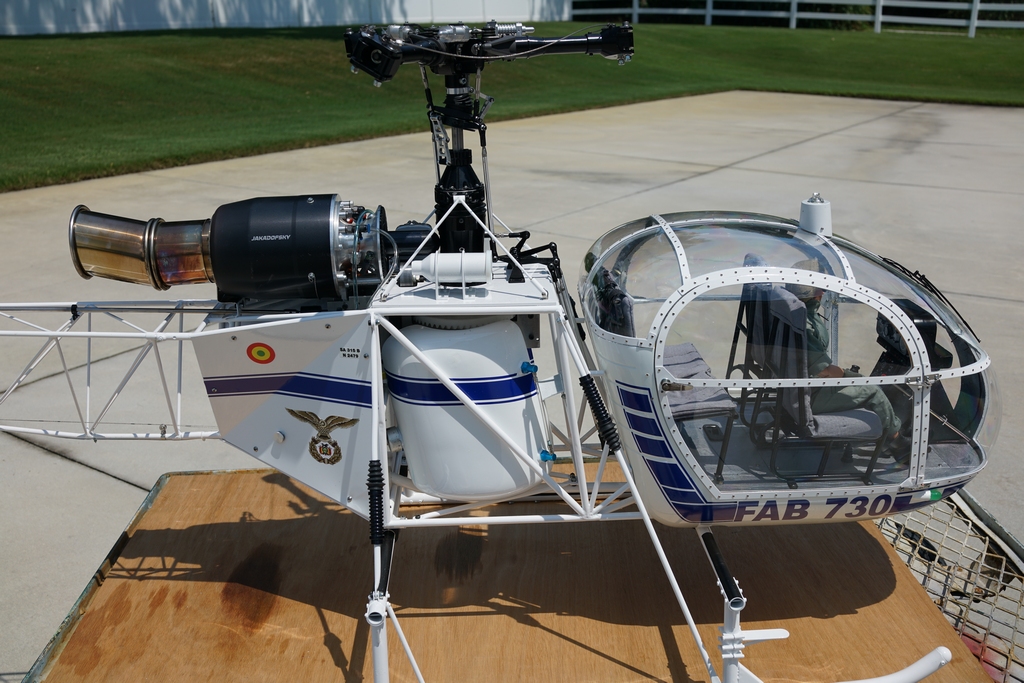
The lights are 10mm LEDS well overdriven but you can see them easily in bright sunlight. The strobe on the top is an underdriven 3 watt LED with a special right angle lens. You can see that as well.
Right now, I am waiting for my printer to spew out a pitot tube and then I have to do the mirrors and a few other odds and ends. I must confess I have been flying this bird, the first flight was exciting as the rear thrust from the turbine exhaust took me by surprise and I was using a lot of sky. Later flights were less adventurous but it flies really nicely for a multiblade heli with no stabilisation